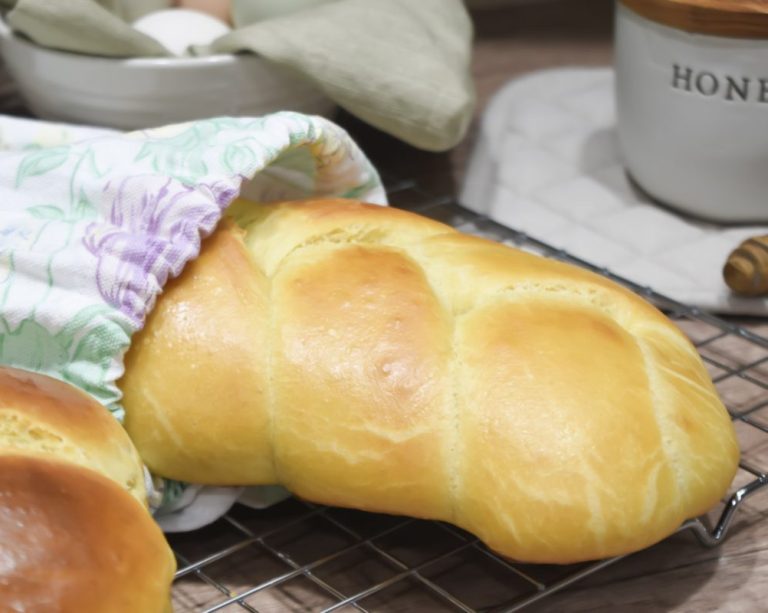
Perfect Soft Sourdough Sandwich Bread (5 ingredients!)
Imagine slicing into a loaf of bread so soft, so tender, it practically melts in your mouth, with that distinctive tangy sourdough flavor that makes every bite pure bliss! Sourdough sandwich bread isn’t just a culinary trend; it’s a way to elevate your home baking. Unlike store-bought loaves, homemade sourdough sandwich bread offers unparalleled texture, flavor, and nutritional benefits. Did you know that sourdough fermentation can make bread more digestible and lower its glycemic index? In this recipe, I’ll walk you through every step of creating the most incredible soft sourdough sandwich bread right in your own kitchen.
Understanding Sourdough Sandwich Bread Basics
Let me tell you, my journey with sourdough bread has been nothing short of a wild rollercoaster! When I first heard about sourdough fermentation, I thought it was just another fancy food trend. Boy, was I wrong. This isn’t just bread – it’s a whole culinary science that’ll blow your mind.

What Makes Sourdough Sandwich Bread Unique
The first time I tasted a truly exceptional sourdough sandwich bread, it was like a flavor explosion in my mouth. Unlike those bland, mass-produced store loaves, sourdough brings something magical to the table. It’s all about natural fermentation, baby!
Traditional yeasted bread is basically the boring cousin of sourdough. With wild yeast and natural fermentation, sourdough develops this incredible depth of flavor that’ll make your taste buds do a happy dance. The natural fermentation process breaks down gluten and makes the bread more digestible, which means less of that bloated feeling after eating bread.
Here’s a mind-blowing fact: sourdough bread has a lower glycemic index compared to regular bread. This means it won’t spike your blood sugar like those other breads.
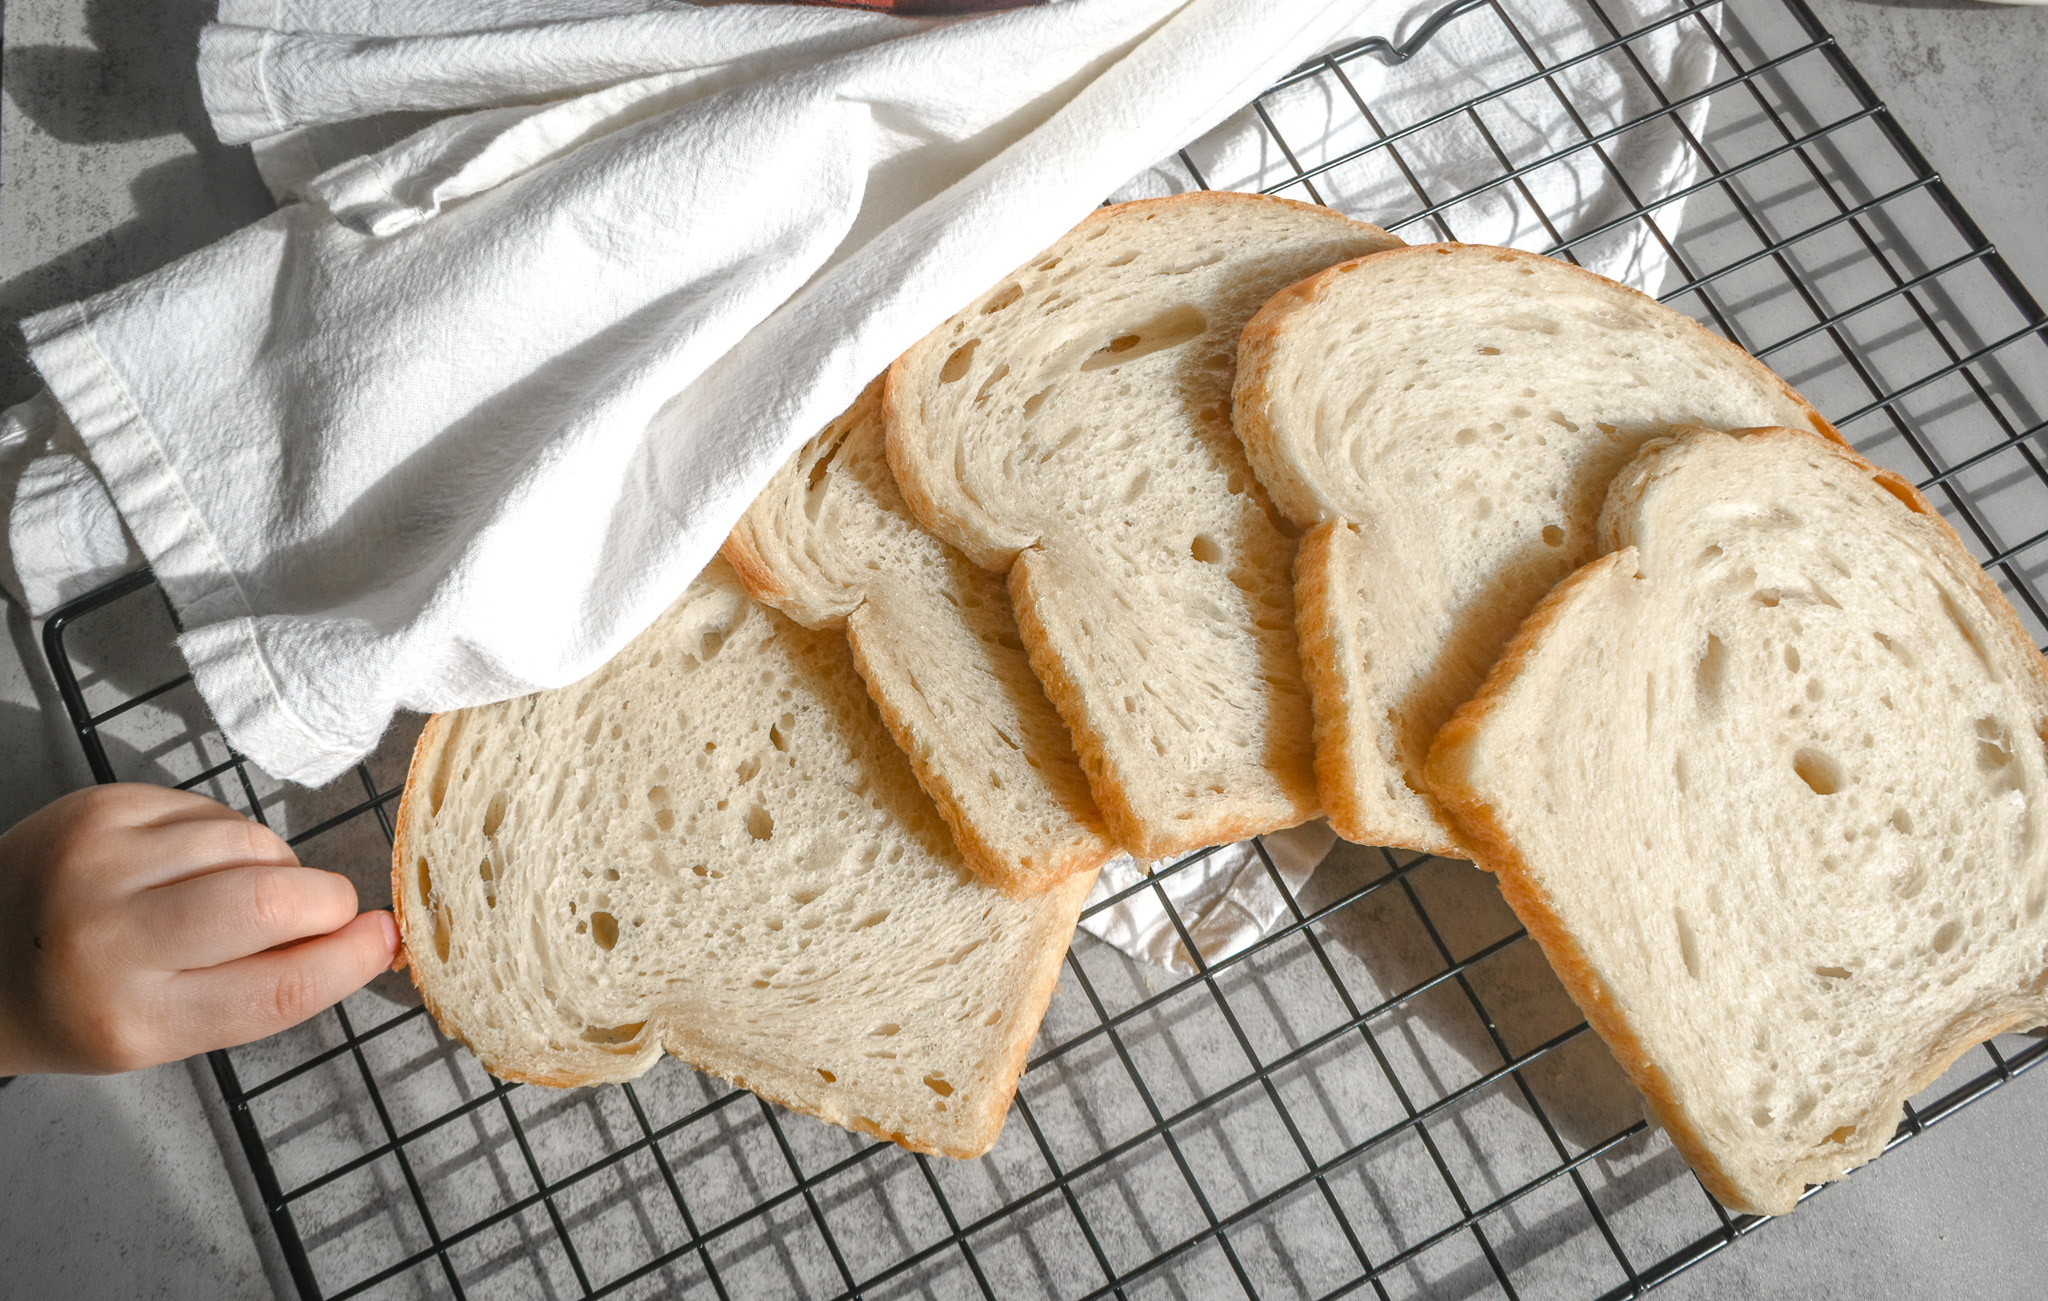
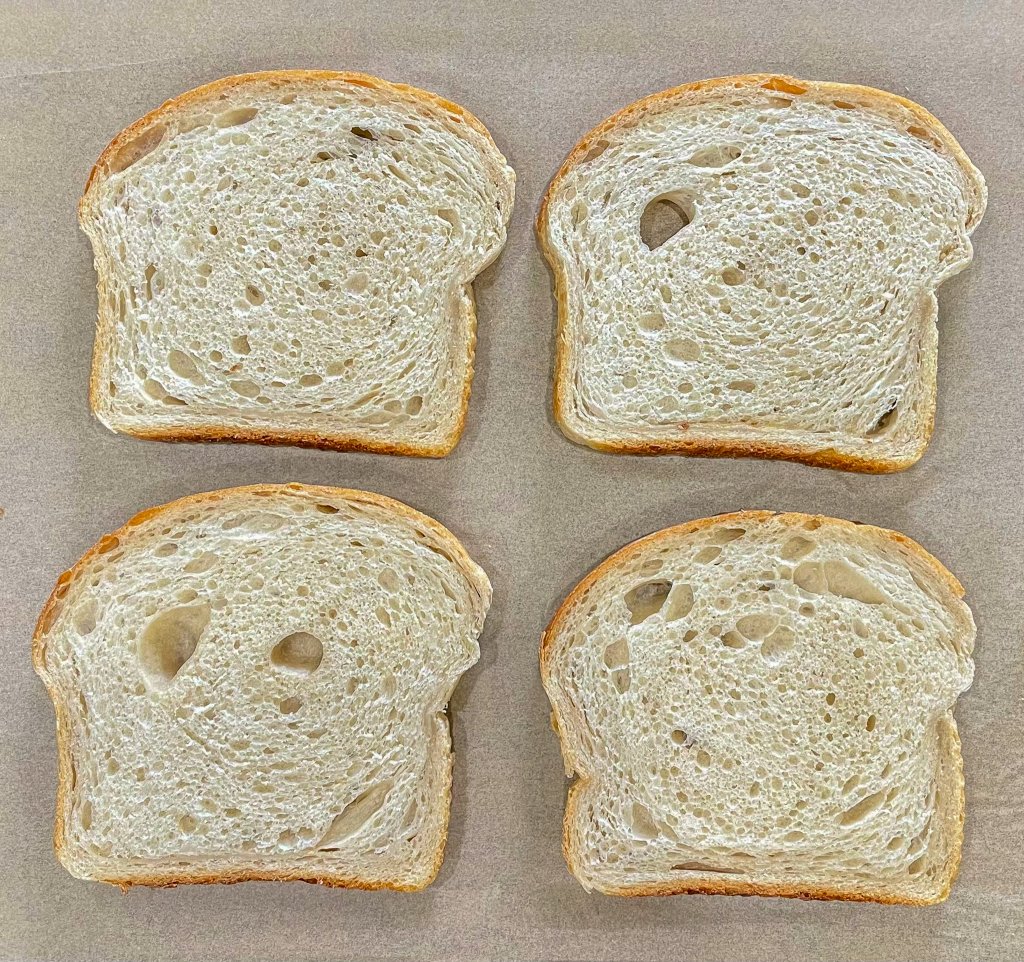
A good sourdough sandwich bread is soft, slightly tangy, with these beautiful air pockets that make each slice feel like a cloud. When you nail the hydration and fermentation, you’re not just making bread – you’re creating edible art.
Essential Ingredients for Soft Sourdough Sandwich Bread
Let’s talk ingredients. This isn’t about dumping random stuff in a bowl. It’s about understanding each component. Bread flour is your best friend here – its higher protein content means better gluten development. I’ve tried all-purpose flour, and trust me, it just doesn’t cut it for that perfect sandwich loaf.
Hydration is key. Too dry, and you’ll end up with a brick. Too wet, and you’ve got a sad, flat mess. I’ve had plenty of bread disasters to prove this point. The sweet spot? Around 65-75% hydration for a soft, pillowy texture.
Pro tip: Don’t skimp on quality. Your starter, flour, and even water matter. Try not to use tap water. It turns out chlorine can mess with your fermentation. Instead, use filtered water.
A dash of fat – whether it’s butter, avocado oil, or milk – can transform your bread from good to absolutely phenomenal. It adds softness and helps keep the bread fresh longer.
The beauty of sourdough sandwich bread is that it’s both an art and a science. Some days, you’ll feel like a bread wizard. Other days, you’ll want to throw your starter out the window. But that’s the magic of baking – each loaf tells a story, and you’re the storyteller.
Starter Preparation for Sandwich Bread
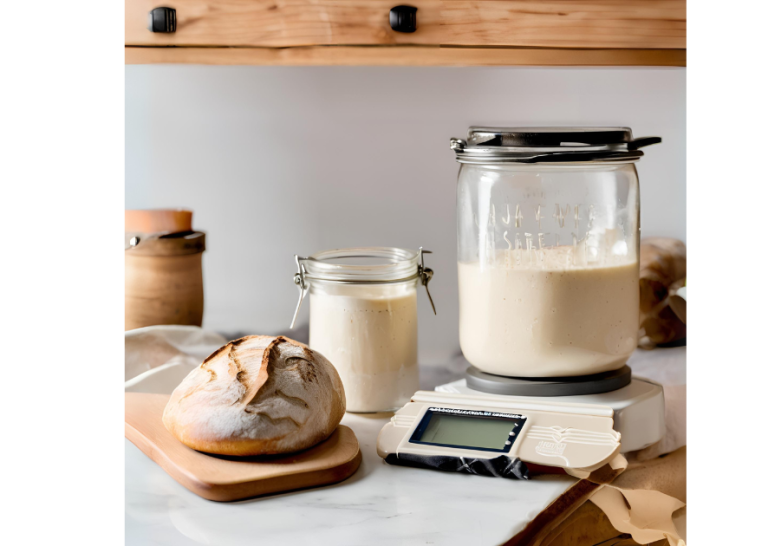
Timing is everything when you’re preparing your starter for bread making. You want it at its peak performance – super bubbly, doubled in size, and with that slightly sour, fruity smell. My rule of thumb? If it doesn’t pass the “float test” (where a spoonful of starter floats in water), it’s not ready.
I used to get so frustrated waiting for my starter to mature. Patience is not my strong suit, but sourdough taught me that good things come to those who wait. A mature starter can take weeks to develop, so don’t beat yourself up if it’s not perfect immediately.
Pro tip: Always keep a backup starter. It’s like an insurance policy for bread lovers.
When you’re ready to bake sandwich bread, you’ll want to time your starter feeds perfectly. I typically feed my starter 4-6 hours before mixing my dough. This ensures it’s at maximum activity and ready to work its fermentation magic.
One thing I wish someone had told me earlier: your starter is alive. It has moods, it has preferences. Some days it’ll be super active, other days it’ll be sluggish. Learn to read its signs, and you’ll become a bread whisperer in no time.
The Perfect Soft Sourdough Sandwich Bread Recipe
Buckle up, bread lovers. This is where the magic happens. After years of trial and error, failed loaves, and more flour-covered kitchen surfaces than I care to admit, I’ve finally cracked the code to the most incredible soft sourdough sandwich bread.

Disclaimer: As an Amazon Associate, I earn from qualifying purchases.
Step-by-Step Bread Making Process
First things first – mise en place is everything. Have all your ingredients measured, your tools ready, and your workspace clean. Trust me, nothing’s worse than realizing you’re missing something mid-recipe.
Ingredients:
- 260g active sourdough starter
- 1,000g bread flour
- 650g warm water
- 55g avocado oil
- 20g salt
- 60g honey or sugar
Equipment:
- Large mixing bowl
- Bench scraper
- 2x bread pans (9×5 inch)
- Kitchen scale
- Plastic wrap
- Rolling pin
- Cooling rack
Step-by-Step Instructions:
- Prepare the Starter
- Ensure your sourdough starter is active and at its peak
- Feed your starter 4-6 hours before mixing the dough
- Check that it’s doubled in size and passes the float test
- Mix
- In a large bowl, combine bread flour, warm water, honey, oil, and salt
- Mix with your hands until no dry flour remains
- Cover and let rest at room temperature for 45 minutes
Note: It will be really sticky! Scrape your hands with a dough scraper to get rid of excess dough on your hands. Then, get your hands wet and keep mixing. It will not be as sticky when you are done mixing the dough.

- Stretch and Fold Technique
- Perform 3 sets of stretch and folds over 2-3 hours
- To stretch and fold:
- Wet your hands to prevent sticking
- Grab one side of the dough
- Stretch it up and fold it over the center
- Rotate the bowl and repeat on all four sides
- Rest the dough 45 minutes between each set
- This develops gluten and creates a strong dough structure


- Bulk Fermentation
- Cover the bowl with plastic wrap
- Let the dough ferment at room temperature (70-75°F)
- Allow 4-6 hours of bulk fermentation
- The dough should increase in volume by about 50% and look puffy
- Divide and Shape the Loaf
- Gently turn out the dough onto a wet surface
- Divide into two equal portions
- Shape into a sandwich loaf:
- Working with one piece of dough at a time, flatten the dough into a large rectangle using a rolling pin
- Fold the top third down
- Fold the bottom third up
- Roll tightly into a log shape
- Pinch the seam to seal


- Final Proof
- Place the shaped loaf in a greased 9×5 inch bread pan
- Cover with plastic wrap
- Proof at room temperature for 2-4 hours
- Alternatively, do a cold proof in the refrigerator for 8-12 hours
- The dough is ready when it has risen about 1 inch above the pan rim

- Prepare for Baking
- Preheat oven to 425°F (218°C)
- Optional: Score the top of the loaf with a sharp knife
- Spray the top of the loaf with water
- Bake the Bread
- Bake for 40-45 minutes
- First 20 minutes: Bake with steam (place a pan of hot water on the bottom rack)
- Last 20-25 minutes: Reduce heat to 400°F (205°C)
- Bread is done when deep golden brown and internal temperature reaches 205-210°F
- Cool and Store
- Remove from pan immediately after baking
- Cool completely on a wire rack (at least 1 hour)
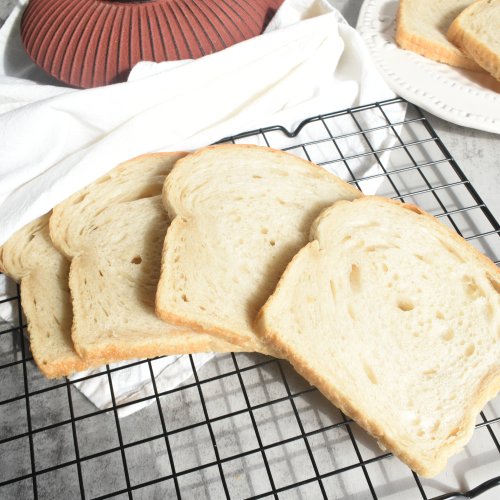
- Slice only when fully cooled
- Store at room temperature for 2-3 days
- Freeze sliced bread for up to 3 months
Pro Tips:
- Use a kitchen scale for the most accurate measurements
- Room temperature can affect fermentation times
- Be patient and flexible with timing
- Each loaf is a learning experience!
Baking Techniques for Maximum Softness
Here’s a pro tip that’ll blow your mind: steam is the secret to a soft, golden crust. I use the open bake technique to create a steamy environment in the first part of baking. It helps the bread rise beautifully and keeps the crust soft and tender.
Oven temperature is crucial. I preheat my oven to a scorching 425°F (218°C) and then drop it to 400°F (204°C) when I put the bread in. The initial high heat gives an awesome oven spring, helping the bread rise to its full potential.
Cooling is just as important as baking. I know it’s tempting to slice into that beautiful loaf immediately, but resist! Let it cool completely on a wire rack. Cutting too soon means a gummy, dense interior – and nobody wants that.
Pro tip: If you want an extra soft loaf, brush the top with melted butter right after it comes out of the oven. This adds moisture and creates a tender crust that’ll make your sandwich dreams come true.
A word of warning: once you start making your own sourdough sandwich bread, store-bought will never be the same. You’re entering a delicious point of no return. Welcome to the club!
Soft Sourdough Sandwich Bread
Equipment
- Large Mixing Bowl
- Kitchen scale
- Plastic wrap
Ingredients
- 260 g active sourdough starter
- 1,000 g bread flour
- 650 g warm water
- 55 g avocado oil
- 20 g salt
- 60 g honey or sugar
Instructions
Mix
- In a large bowl, combine bread flour, warm water, honey, oil, and salt260 g active sourdough starter, 1,000 g bread flour, 650 g warm water, 55 g avocado oil, 20 g salt, 60 g honey or sugar
- Mix with your hands until no dry flour remains
- Cover and let rest at room temperature for 45 minutes
Bulk Fermentation
- Perform 3 sets of stretch and folds over 2-3 hours. Rest the dough 45 minutes between each set
- Cover the bowl with plastic wrap
- Let the dough ferment at room temperature (70-75°F)
- Allow 4-6 hours of bulk fermentation
- The dough should increase in volume by about 50% and look puffy
Divide and Shape the Loaf
- Gently turn out the dough onto a wet surface. Divide into two equal portions
- Shape into a sandwich loaf. Working with one piece of dough at a time, flatten the dough into a large rectangle using a rolling pin. Fold the top third down. Fold the bottom third up. Roll tightly into a log shape. Pinch the seam to seal.
Final Proof
- Place the shaped loaf in a greased 9×5 inch bread pan
- Cover with plastic wrap. Proof at room temperature for 2-4 hours. Alternatively, do a cold proof in the refrigerator for 8-12 hours.
- The dough is ready when it has risen about 1 inch above the pan rim
- Preheat oven to 425°F (218°C)
- Optional: Score the top of the loaf with a sharp knife
- Spray the top of the loaf with water
Bake the Bread
- Bake for 40-45 minutes
- First 20 minutes: Bake with steam (place a pan of hot water on the bottom rack). Last 20-25 minutes: Reduce heat to 400°F (205°C). Bread is done when deep golden brown and internal temperature reaches 205-210°F.
Cool and Store
- Remove from pan immediately after baking. Cool completely on a wire rack (at least 1 hour). Slice only when fully cooled.
- Store at room temperature for 2-3 day or freeze sliced bread for up to 3 months.
Troubleshooting Common Sourdough Bread Challenges
Let’s get real. Sourdough bread making is not for the faint of heart. For every beautiful loaf, there are about 10 tragic bread fails waiting to happen. But fear not – I’ve been through the bread battlefield and lived to tell the tale.
Solving Texture and Rise Issues
Dense loaf? The curse of every home baker’s existence. I’ve had more brick-like breads than I care to admit. Most of the time, it comes down to a few key issues: under-proofed dough, low hydration, or poor gluten development.
Hydration is tricky. Too little water, and your bread becomes a doorstop. Too much, and it’s a flat, sad pancake. I learned to adjust my hydration based on the flour I’m using. Whole wheat flour, for instance, absorbs more water than white bread flour.
Sometimes, your environment plays a huge role. Humidity, temperature, even the altitude can mess with your bread. Turns out, you need to add a bit more water to compensate.
Flavor and Fermentation Tips
Controlling the sourness of your bread comes with time and practice. Some people love that super tangy flavor, others prefer a milder taste. The longer you let your dough ferment, the more sour it becomes. I typically do a combo of cold fermentation in the fridge and room temperature proofing to control the flavor. I tend to prefer the milder sourness.
Over-proofing is the silent killer of beautiful bread. It’s a fine line between perfectly proofed and overproofed. How can you tell? If your dough has completely lost its structure and looks flat and deflated, you’ve gone too far. I always do the “poke test” – if the indentation from your finger fills back slowly, it’s ready to bake.
Pro tip: Keep a bread journal. Seriously. Note down everything – flour type, hydration, room temperature, fermentation time. Each loaf is a learning experience, and tracking your process helps you improve consistently.
A word of caution: sourdough is not an exact science. Some days, your bread will be Instagram-worthy. Other days, it’ll look like something you’d use as a doorstop. Embrace the imperfections, learn from each bake, and keep pushing forward.
Remember, even professional bakers have bad bread days. The key is persistence, patience, and a whole lot of flour.
Storing and Serving Your Sourdough Sandwich Bread
Congratulations! You’ve successfully baked a beautiful sourdough sandwich bread. Now, let’s talk about keeping that beauty fresh and finding delicious ways to enjoy it.
Bread Storage Techniques
First things first – homemade bread doesn’t have the preservatives of store-bought loaves. This means you need a solid storage strategy. My go-to method is a sandwich bag.
Room temperature is your friend for the first couple of days. I slice my bread and store it in a bag. This helps prevent it from drying out too quickly.
Pro tip: only slice what you need. Keeping the loaf whole helps maintain moisture.
Freezing is a total game-changer. I typically slice the bread before freezing, so I can grab exactly what I need. Wrap it tightly in plastic wrap, then in a freezer bag. It’ll stay good for about 3 months.
Creative Serving Suggestions
Let’s talk sandwiches. A good sourdough sandwich bread can elevate even the simplest sandwich. My absolute favorite is smoked brisket sandwich – the tangy sourdough adds an incredible depth of flavor that regular bread just can’t match.
Toasting brings out a whole new dimension in sourdough. My husband loves a thick slice, lightly toasted, with some good butter. Simple, but oh-so-delicious.
Don’t limit yourself to just sandwiches. Sourdough makes incredible French toast, bread pudding, and even croutons. When your bread starts to get a bit stale, that’s your cue to get creative.
Pro tip: day-old sourdough is perfect for making breadcrumbs or croutons. Just cube it, toss with some olive oil and herbs, and bake until crispy. Your salads and pasta dishes will thank you.
A final word of advice: sourdough is more than just bread. It’s a journey, a skill, and honestly, a bit of an obsession. Embrace the process, learn from your mistakes, and enjoy every delicious moment.
Conclusion
Mastering soft sourdough sandwich bread is a journey of patience, practice, and passion. With these techniques, you’ll transform simple ingredients into extraordinary, mouth-watering bread that will impress your family and friends. Don’t be intimidated – every loaf is a learning experience, and soon you’ll be creating bakery-quality bread right in your own kitchen. Ready to start your sourdough adventure? Grab your ingredients, and let’s bake!
Soft Sourdough Sandwich Bread: Frequently Asked Questions
1. How long does it take to make sourdough sandwich bread?
From start to finish, expect the entire process to take about 12-24 hours. This includes creating the starter, mixing the dough, fermentation, proofing, and baking. The actual hands-on time is much shorter – probably around 30-45 minutes total. Most of this time is passive fermentation and resting.
2. Can I make sourdough bread without a Dutch oven?
Absolutely! While a Dutch oven helps create steam and achieve a great crust, you can use a regular bread pan or baking sheet. To create steam, place a pan of boiling water on the bottom rack of your oven during baking. This helps create a crisp crust and good oven spring.
3. How do I know if my sourdough starter is ready to use?
A mature, active starter should double or triple in size within 4-8 hours after feeding, have lots of bubbles throughout, and pass the “float test” – a spoonful of starter should float in water when it’s ready to bake. It should also have a pleasant, slightly sour smell.
4. Why is my sourdough bread dense and heavy?
Dense bread can result from several issues:
- Under-proofed dough
- Low hydration
- Not enough gluten development
- Inactive or weak sourdough starter
- Incorrect flour type
- Insufficient kneading or stretching
5. How long will homemade sourdough sandwich bread stay fresh?
At room temperature, your bread will stay fresh for 2-3 days when stored in a bread box or cotton bag. For longer storage, slice and freeze the bread. It can last up to 3 months in the freezer. Always store cut-side down to prevent drying out.
6. Can I make sourdough bread gluten-free?
Traditional sourdough relies on wheat flour’s gluten for structure. While you can experiment with gluten-free flours, achieving the same texture is challenging. Gluten-free sourdough requires special techniques and additional binding ingredients.
7. How often should I feed my sourdough starter?
If kept at room temperature, feed your starter daily. If refrigerated, you can feed it once a week. When preparing to bake, feed your starter 4-6 hours before mixing dough to ensure it’s at peak activity.
8. What’s the difference between bread flour and all-purpose flour for sourdough?
Bread flour has higher protein content (typically 12-14%), which helps develop stronger gluten and create a better rise. All-purpose flour (10-12% protein) can work but may result in a denser, less voluminous loaf. For sandwich bread, bread flour is recommended.
9. Can I make sourdough bread without a kitchen scale?
While possible, a kitchen scale is highly recommended for consistent results. Baking is a science, and measuring by weight provides more accuracy than volume measurements. If you don’t have a scale, use the scoop and level method for flour.
10. Why does my sourdough bread taste sour?
The sourness depends on fermentation time and temperature. Longer, cooler fermentation increases tanginess. A longer proofing time in the refrigerator will develop more sour notes. If you prefer a milder flavor, reduce fermentation time and temperature.