Absolute Guide to Baking with Organic Flour: Basic Techniques (2025)
Did you know that organic flour sales have surged by 89% since 2020? There’s a reason for this explosive growth! As a baker who’s worked exclusively with organic flours, I’ve discovered that these pure ingredients can transform your baking from good to extraordinary. But here’s the catch – organic flour behaves differently from conventional flour, and understanding these nuances is key to success. Whether you’re a curious beginner or an experienced baker looking to go organic, this comprehensive guide will help you master baking with organic flour!
Understanding Organic Flour Basics
What is organic flour?

When I first switched to organic flour, I thought it was just regular flour with a fancy label. Turns out, there’s way more to it. I learned this the hard way after my bread dough kept acting… weird. It was either too dense or too sticky, and I couldn’t figure out why.
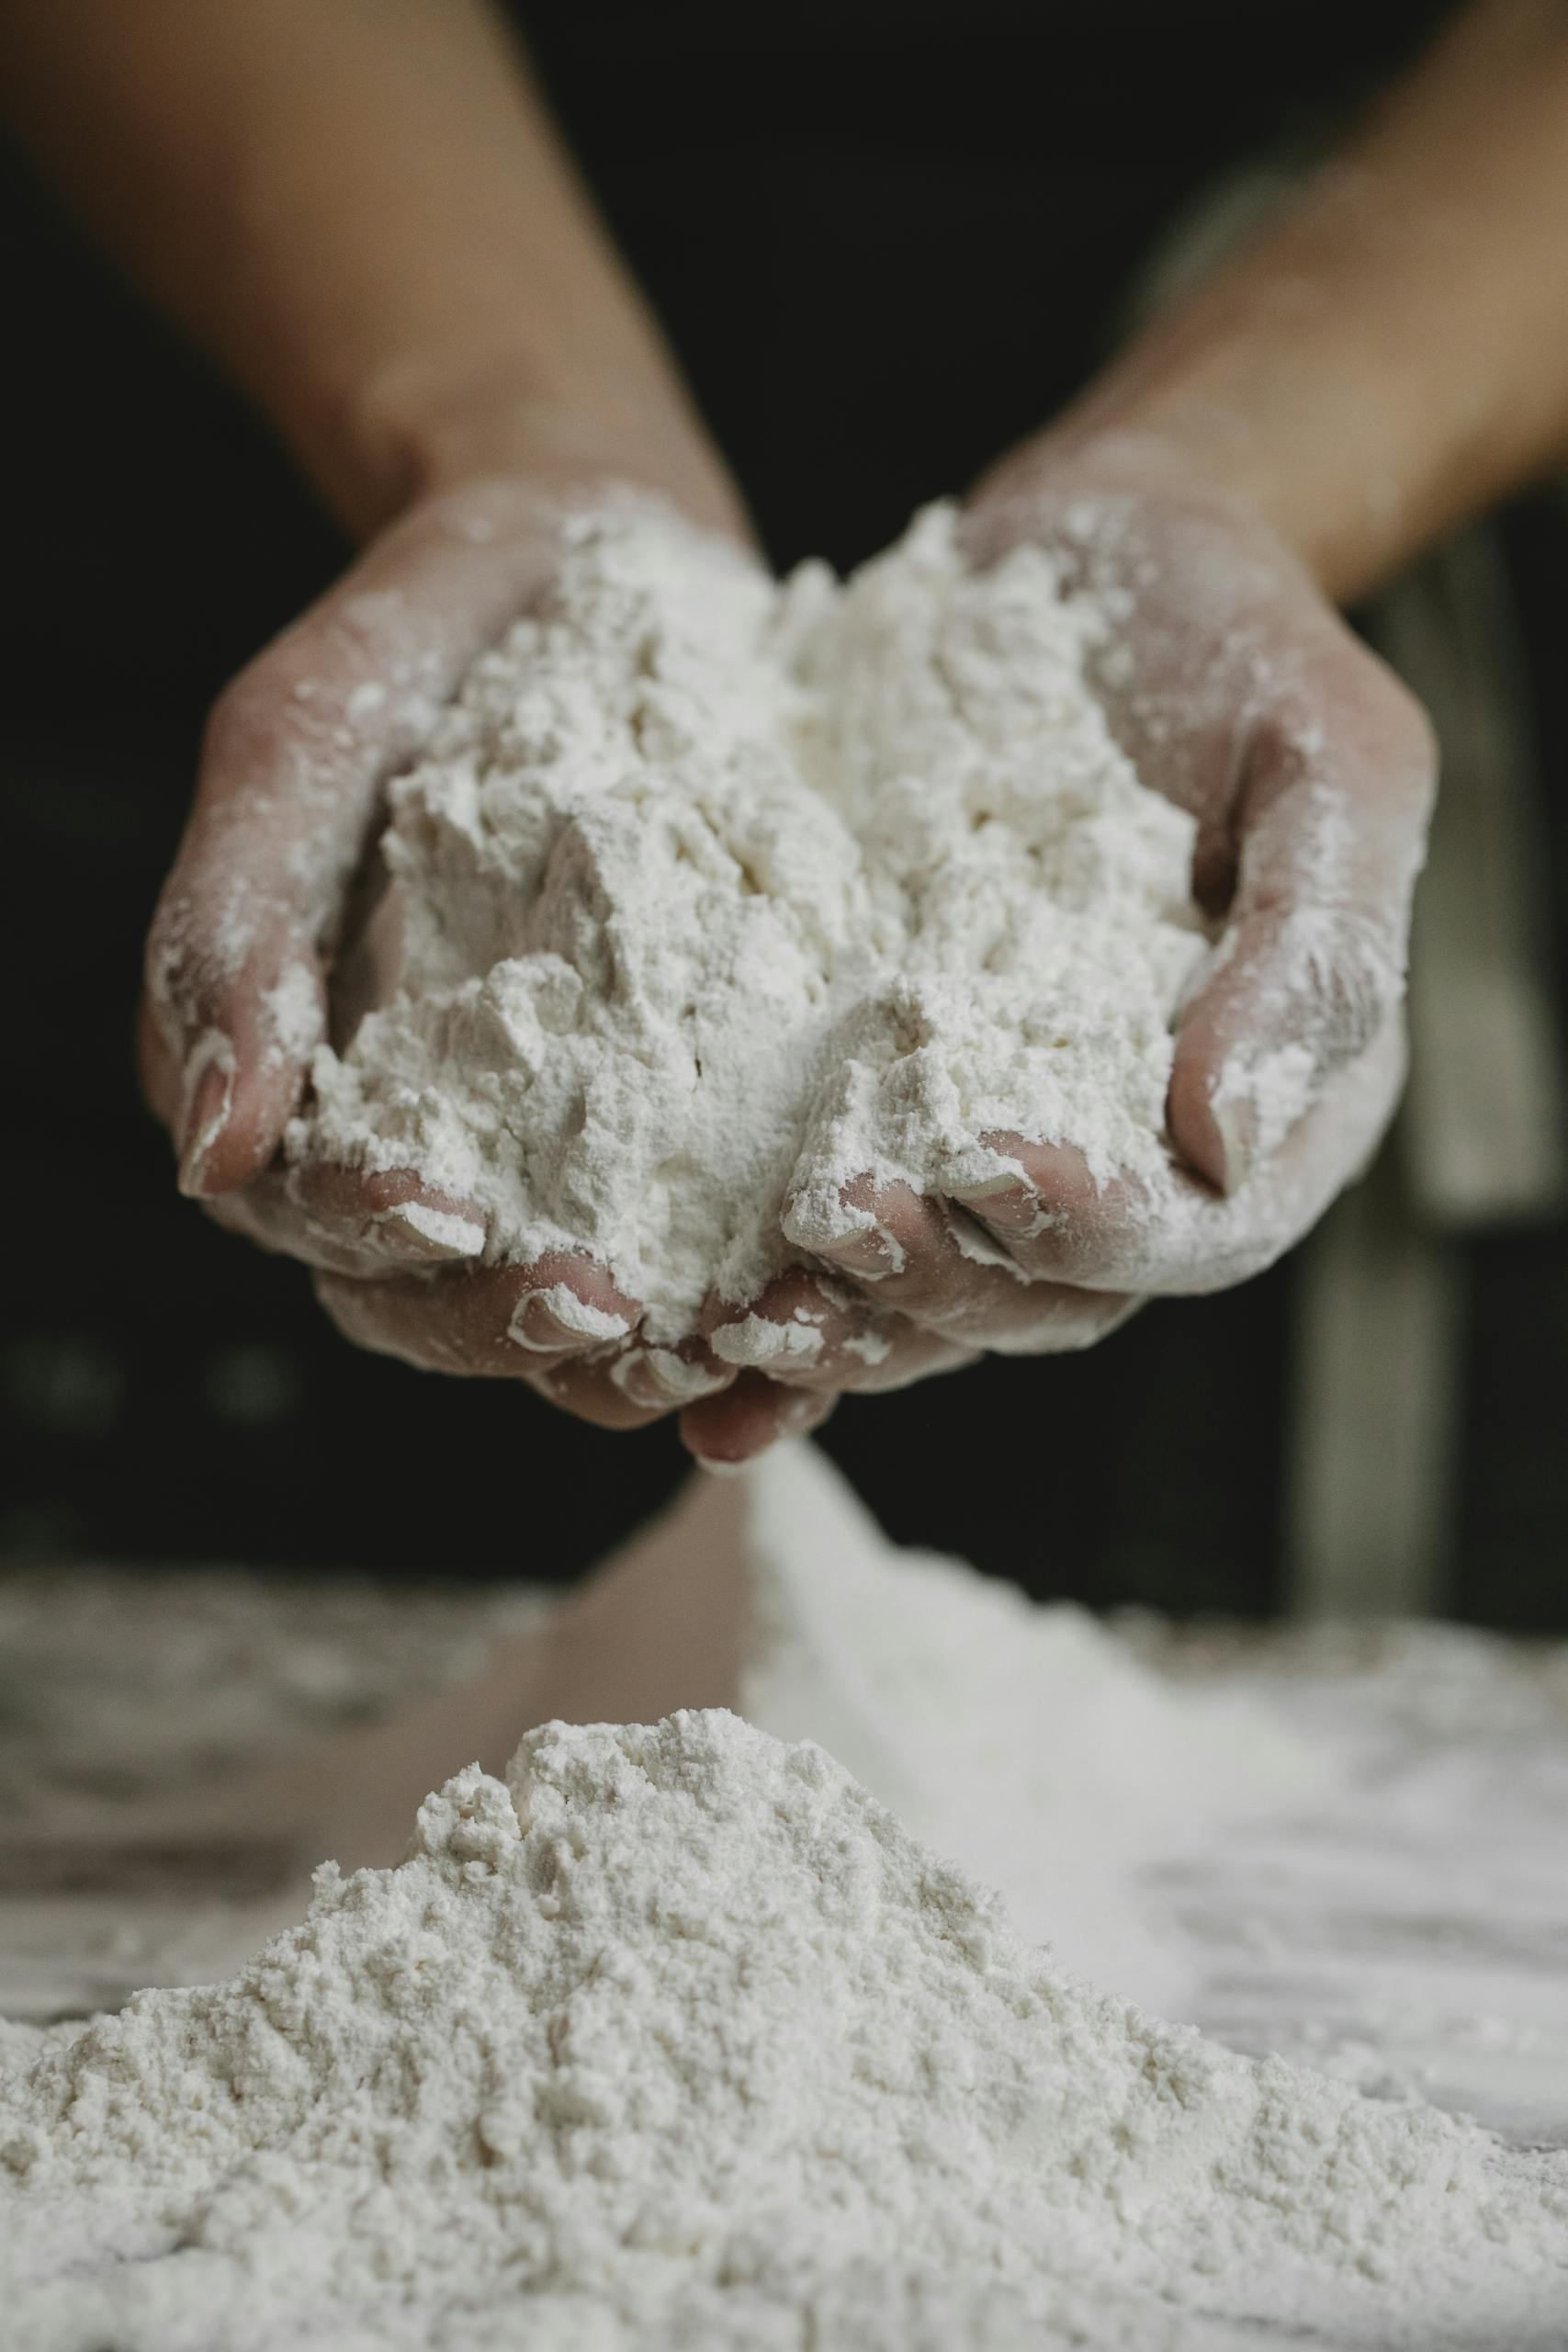
Organic flour is grown without synthetic pesticides, herbicides, or genetically modified seeds. That alone makes a difference, not just in health benefits but in how the flour behaves. I remember making a loaf of sourdough where the dough felt drier than usual, only to realize the organic whole wheat flour I was using was absorbing more water than the conventional one I had before.
See, organic flour often retains more of its natural bran and germ, which means it can be thirstier. More fiber, more texture, and definitely more flavor — but also a learning curve if you’re used to all-purpose flour from the grocery store.
Switching flours wasn’t as simple as a one-for-one swap either. I had to adjust hydration, kneading, and fermentation times. Organic flour feels “alive” compared to conventional. It ferments faster, probably due to retaining more wild yeasts and enzymes. Ever had your dough overproof way faster than expected? Yep, me too — lesson learned.
A practical tip I wish someone had told me earlier: Store organic flour in the freezer or fridge, especially whole grain types. Since it retains more natural oils, it can go rancid quicker. Trust me, you don’t want to discover that when you’re halfway through mixing a batch of sourdough cinnamon rolls.
In the end, organic flour isn’t just about being healthier — it’s about working with a more natural product. The flavor? Unmatched. The process? Definitely a learning curve, but once you nail it, there’s no going back.
Different types of organic flour
Now that you have a better understanding of what organic flour is and how it can change your final baked product, let’s take a look at some of the types of organic flour available out there.
1. Organic All-Purpose Flour
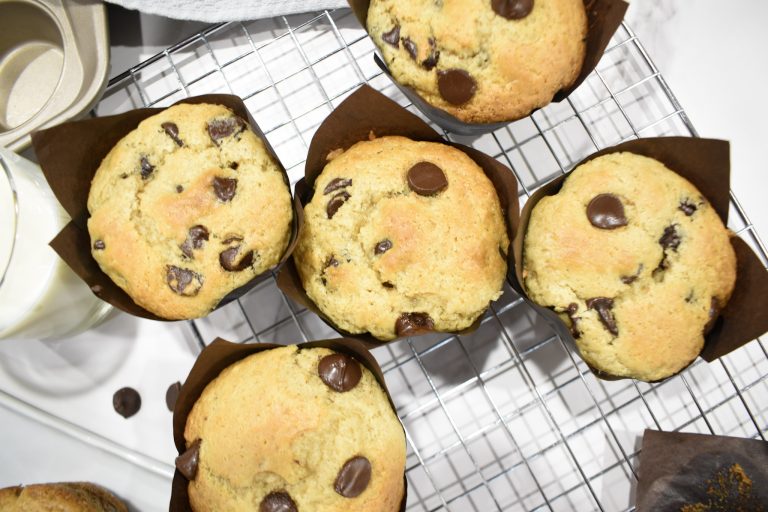
If you’re just dipping your toes into organic baking, start here. Organic all-purpose flour is the most versatile option for everyday baking. It’s a blend of hard and soft wheat, giving it a balanced protein content (usually around 10-11%). This is perfect for cookies, muffins, banana bread—fluffy, soft textures with a bit of chew.
2. Organic Bread Flour
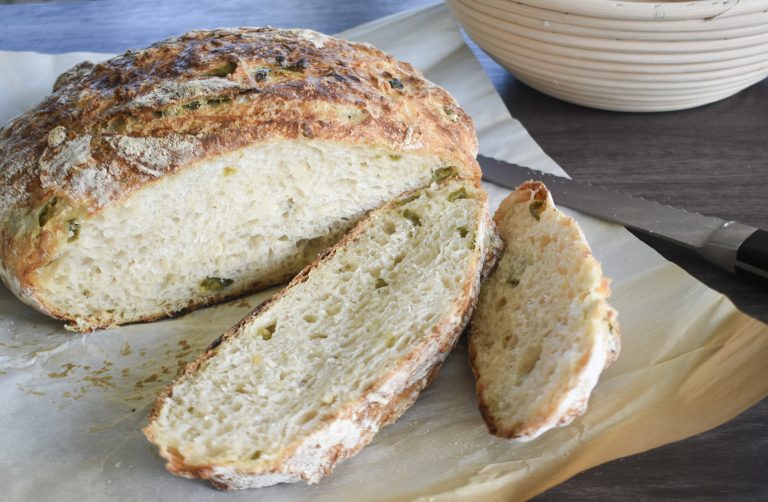
Bread flour changed the game for me when I got serious about making homemade sourdough. This flour has a higher protein content (around 12-14%), which means more gluten development. More gluten equals a stronger dough structure, perfect for chewy baguettes, artisan loaves, and pizza crusts that stretch without tearing.
I mistakenly swapped regular all-purpose for bread flour in a cupcake recipe—yeah, don’t do that. It was dense and chewy in all the wrong ways. Bread flour is built for structure, not softness.
3. Organic Whole Wheat Flour
Whole wheat flour was another eye-opener for me. Unlike white flours, this one includes the entire wheat kernel—bran, germ, and endosperm. More fiber, more nutrients… but also a more assertive flavor and denser texture.
When I first tried baking with it, I swapped it 1:1 for all-purpose in my sourdough sandwich bread. Big mistake. The loaf came out dry and heavy. Whole wheat flour absorbs more water due to the extra fiber content. Now, I use it for heartier bakes like rustic loaves or mix it with all-purpose (usually a 50/50 blend) for a healthier balance.
4. Organic Spelt Flour
Spelt is one of those ancient grains that makes you feel fancy just saying it. But it’s not just trendy—it’s actually really fun to bake with. Spelt flour has a slightly sweet, nutty flavor and lower gluten content compared to wheat flour.
The trick with spelt? Handle it gently. Overmixing can lead to crumbly textures since the gluten structure is weaker.
5. Organic Rye Flour
Rye has a bold, earthy taste and is lower in gluten, making it a challenge for high-rise breads. I learned this when my first rye loaf turned out more like a brick than bread. Rye flour needs a bit of help, so I usually blend it with bread flour for a hybrid loaf with great structure and that classic tangy rye flavor.
It’s also incredible in crackers and cookies. Rye chocolate chip cookies? Game changer.
6. Organic Pastry Flour
Pastry flour has a low-protein flour (around 8-9%) designed for delicate bakes like tarts, biscuits, and scones. The lower protein means less gluten development, which equals a more tender, flaky bite.
If you’re a fan of laminated doughs or buttery pastries (like my favorite ever Kouign-Amann), keep a bag of this around. Just don’t try using it for bread—it won’t give you the structure you need for a solid loaf.
Protein content in organic flour

Adapting Recipes for Organic Flour
Converting conventional recipes to organic
I’ll never forget the first time I tried converting my favorite sandwich bread recipe to organic (milled) flour. What a disaster! After years of baking with organic flour, I’ve learned a thing or two about recipe conversion – mostly through trial and error (and yes, quite a few tears over ruined baked goods- I hate wasting ingredients!).
Here’s the thing about organic flour that most people don’t realize: it typically has a different protein content and absorption rate than conventional flour. I quickly learned that organic flour often absorbs more water than conventional flour, which means you usually need to adjust your liquid ingredients.
Let me share some specific measurements that have worked well for me. When converting a recipe that calls for 2 cups of all-purpose flour, I typically start by reducing the liquid ingredients by about 2-3 tablespoons. For instance, if the recipe calls for 1 cup of milk, I’ll start with ¾ cup plus 1 tablespoon and adjust from there. The dough or batter should feel similar to what you’re used to with conventional flour.
Temperature plays a huge role too – something I discovered after a particularly frustrating afternoon of bread baking. Organic flour tends to ferment more actively due to its natural enzyme content. I now adjust my room temperature proofing times by reducing them by about 15-20%. A dough that would normally proof for 2 hours might only need 1 hour and 40 minutes with organic flour.
Here’s a practical conversion chart I’ve developed through countless tests:
- For cookies: Reduce liquids by 10-15%
- For bread: Reduce hydration by 5-7% initially
- For cakes: Start with 95% of the called-for liquid
- For pastries: Keep butter amount the same but reduce other liquids by 8-10%
One of my favorite tricks is to let the mixed dough rest for about 15 minutes before making any final adjustments. Organic flour needs a bit more time to fully hydrate, and I can’t tell you how many times I’ve added too much liquid because I was impatient! Trust me, that rest period makes a world of difference.
The most important lesson I’ve learned? Keep detailed notes. I have a whole notebook filled with my conversion experiments – what worked, what didn’t, and why. Jotting down the weather conditions has been surprisingly helpful too, since humidity can really impact how organic flour behaves.
Speaking of weather, here’s a pro tip: in humid conditions, you might need to reduce liquids even further, sometimes by as much as 20%. I learned this the hard way during a particularly muggy summer when my usually perfect sourdough bagels turned into a gummy mess.
Remember, converting recipes isn’t just about swapping ingredients – it’s about understanding how organic flour behaves differently and being willing to adjust accordingly. Start small, make one change at a time, and don’t get discouraged if your first few attempts aren’t perfect. With a bit of patience and practice, you’ll develop an intuition for working with organic flour that’ll make converting recipes feel like second nature.
Adjusting hydration levels – What I Learned the Hard Way

The first time I heard the phrase “hydration level” in baking, I thought, Eh, it’s just how wet the dough is, right? Well, yes—but also no. Hydration affects everything from dough texture to fermentation speed, and I didn’t fully appreciate how much until I had a few loaves that were either sticky messes or dry as a desert.
Hydration level basically refers to the ratio of water (or any liquid) to flour in a dough, expressed as a percentage. For example, if you use 500g of flour and 350g of water, that’s 70% hydration. The higher the percentage, the wetter the dough. Simple enough—until you realize different flours absorb water differently.
I learned this the hard way when I switched from conventional bread flour to organic milled flour. My usual recipe with 78% hydration turned into a stiff, unworkable blob. Organic flour (especially freshly milled flour) absorbs more moisture because of the bran and germ, so it needs closer to 83% hydration just to feel the same as my old dough. Now, I always adjust by adding water gradually rather than dumping it all in at once.
How to Adjust Hydration Properly
Here’s what’s worked for me after plenty of trial and error:
Start Lower: If you’re unsure, begin with 65-70% hydration for basic bread doughs. You can always add more water later.
Flour Matters: Whole wheat, spelt, and rye absorb more liquid than white bread flour. Adjust hydration up by 5-10% for whole grains.
Mix Gradually: Hold back 10% of the water during mixing. If the dough feels too dry after the initial mix, add it in slowly.
Resting Helps: Autolyse (letting the flour absorb water before kneading) makes a big difference, especially with high-hydration doughs. I incorporate this method in my basic sourdough bread recipes.
Gluten Strength: The higher the hydration, the stronger your gluten structure needs to be. Stretch and folds work great for wetter doughs—gentle but effective.
Signs You Need to Adjust Hydration
Too Dry? The dough feels tight, tears easily, or doesn’t fully mix in all the flour.
Too Wet? Dough sticks excessively to your hands, spreads too much during proofing, or bakes up flat.
Just Right? Smooth, elastic, and slightly tacky but not sticky dough.
A helpful rule I picked up: if your dough feels scary sticky, don’t panic—let it rest for 20 minutes and do a stretch and fold. Nine times out of ten, it comes together beautifully. Baking really is about finding that balance—and embracing the sticky moments.
Common Techniques with Organic Flour
Kneading techniques
You know, it’s funny how many people think kneading is just about pushing dough around on the counter. When I first started baking bread, I used to attack my dough like I was wrestling with it (my poor kitchen counter!). After countless loaves and lots of experimentation, I’ve learned that effective kneading is more about technique than muscle.
Let me tell you about my biggest kneading revelation: the windowpane test changed everything for me. I remember the first time I achieved that perfect, translucent stretch of dough – I couldn’t contain my excitement! Now, I use this test for every loaf. If you can stretch your dough thin enough to see light through it without it tearing, you’ve developed the gluten properly. It’s like a little kitchen magic trick that actually tells you something important.
Here’s my tried-and-true kneading method that’s worked for hundreds of loaves:
Start with the push-fold-turn technique. Push the dough away from you with the heel of your palm, fold it back over itself, give it a quarter turn, and repeat. But here’s the key that took me way too long to learn – you don’t need to pummel the dough! Use firm but gentle pressure, almost like you’re giving the dough a massage.
Temperature is crucial too – something I learned after many dense loaves. Your dough should feel slightly warm, around 75-78°F (24-26°C). I keep an instant-read thermometer nearby and check occasionally. If the dough feels too cold, it’ll be harder to knead and develop gluten. Too warm, and the sourdough might work too quickly.
One technique that revolutionized my bread-making was the “slap and fold” method. Fair warning – this one’s messy at first! You basically pick up the dough, slap it on the counter, fold it over itself, and repeat. It looks kind of crazy, but it’s incredibly effective for wet doughs. I use this technique mainly for higher hydration doughs, around 70-80% hydration.
Timing-wise, I’ve found most doughs need about 8-12 minutes of hand kneading. But here’s the thing – I don’t actually time it anymore. Instead, I focus on how the dough feels. You want it to become smooth, slightly tacky but not sticky, and elastic. When you poke it, it should slowly spring back. That’s your signal that you’ve developed enough gluten.
The most common mistake I see (and made myself plenty of times) is adding too much flour while kneading. Your dough might feel sticky at first, but resist the urge to keep adding flour! A slightly sticky dough often makes better bread than a dry, stiff dough. I keep my hands slightly damp instead of flouring them – it works like a charm.
And speaking of mistakes, let me tell you about autolyse – my secret weapon for easier kneading. Mix just the flour and water, let it rest for 30 minutes before adding other ingredients. This simple step makes the dough so much easier to knead. I discovered this after months of struggling with tough doughs, and it was like someone had given me a cheat code for bread making!
Remember, different types of bread need different approaches. A bagel dough needs more aggressive kneading than a delicate enriched dough. Trust your hands – they’ll learn to feel when the dough is ready, even if your brain isn’t quite sure yet!
Fermentation adjustments
Fermentation was a mystery to me when I first started baking bread seriously. I thought you just mixed the dough, let it rise, and popped it in the oven. Simple, right? Turns out, fermentation is one of those baking variables that can make or break your loaf—and I learned that the hard way when my dough either ballooned out of control or sat there like a sad lump.
Fermentation is all about time, temperature, and controlling how your dough develops. At its core, it’s the process where yeast (or wild bacteria in sourdough) breaks down sugars and produces carbon dioxide. The bubbles create that beautiful rise and airy crumb we all love. But getting it right? That took me some trial and error.
My First Fermentation Disaster
I’ll never forget the time I over-fermented a batch of sourdough… pretty much everything. It was a hot summer day, and my refrigerator decided not to work anymore. I was prepping for the Farmer’s Market and had different doughs fermenting at the same time. When I got up in the morning to bake, I found ALL of my shaped bread puffy but weak, almost slack, and the final loaf had zero oven spring. Basically, a pancake with a crust.
Overproofing (when fermentation goes too long) weakens the gluten structure. The yeast runs out of food, and the dough collapses. On the flip side, I’ve also rushed fermentation before, cutting it short to “save time.” That led to a dense, underproofed loaf that tasted more like raw flour than bread.
How to Adjust Fermentation Like a Pro (or at Least Avoid Pancake Bread)
Here’s what I’ve learned about fermentation adjustments that made a huge difference in my baking:
Temperature Control Matters:
Dough ferments faster in warmer conditions and slower when cold.
For a slower rise with deeper flavor, try a cold bulk fermentation in the fridge overnight (around 40°F).
If it’s hot, reduce room temperature proofing time or use less starter/yeast.
Flour Type Changes the Speed:
Whole wheat and rye flours ferment faster due to higher enzyme activity.
White bread flour ferments slower but provides better gluten development for structure.
Watch the Signs, Not the Clock:
Dough should be puffy, slightly domed, and airy—not flat or deflated.
Press a finger gently into the dough; if the indentation springs back slowly but doesn’t disappear completely, it’s ready for the next stage.
Practical Fixes for Common Fermentation Problems
Overproofed Dough: If you catch it early (dough is puffy but not collapsed yet), you can gently reshape it and refrigerate for an hour before baking to firm it back up a bit.
Underproofed Dough: If the dough feels tight and dense after bulk fermentation, extend the proofing time. Place it in a warmer spot and give it another 30 minutes to an hour.
Temperature Too High? Reduce the yeast or starter amount by 20-30% if baking in summer.
Temperature Too Low? Try proofing in a turned-off oven with the light on for a gentle heat boost.
A Little Tangent on Cold Fermentation (Because It’s a Game-Changer)
I have to say, once I started using cold fermentation, my bread improved dramatically. Cold proofing not only slows down fermentation but enhances the flavor—think deeper, slightly tangy notes with better crust caramelization. Plus, it’s great for busy schedules. Mix the dough at night, toss it in the fridge, and bake fresh bread the next day.
Final Thoughts
Mastering organic flour baking is a journey worth taking! The techniques and insights shared in this guide will help you navigate the unique characteristics of organic flour and achieve exceptional results in your baking. Remember, patience and practice are key – each batch teaches you something new about working with these premium ingredients. Start with simple recipes, take notes on your results, and gradually work your way up to more complex creations. Your journey to becoming an organic baking expert starts now. Happy baking!


